Wednesday, April 29, 2009
RED Camera
One Light Portraiture
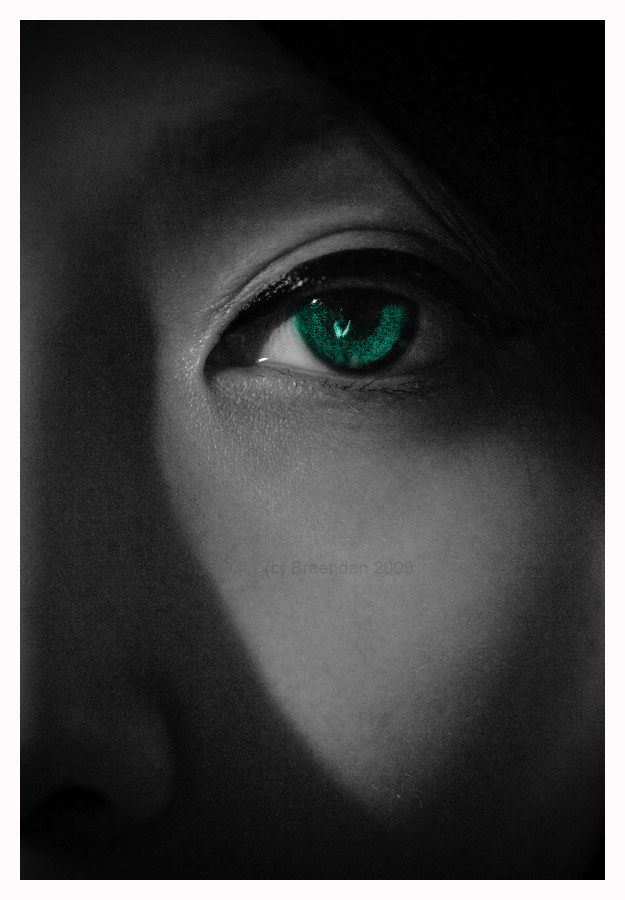
Not everyone is blessed with a photography studio or studio quality lighting at their disposal. In fact the average Joe photographers would most likely only have 1 flash gun at their disposal. Not to worry, with some ingenuity and creativity you can use 1 light source to create beautiful portraiture.
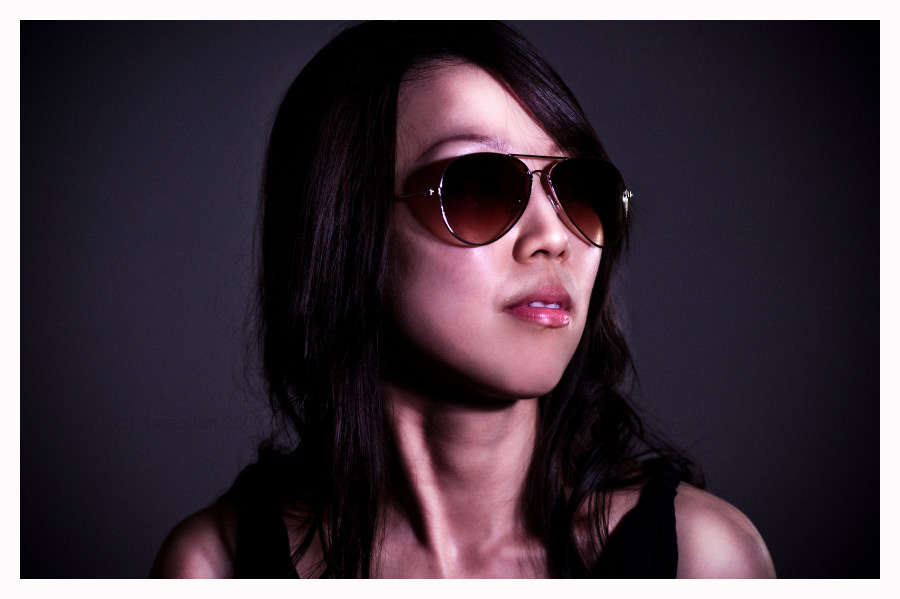
All you need is to find your background e.g. a plain white wall, a willing model, and 1 light source. Here are some images which I took against a white wall at the comfort of my own home with 1 light source.
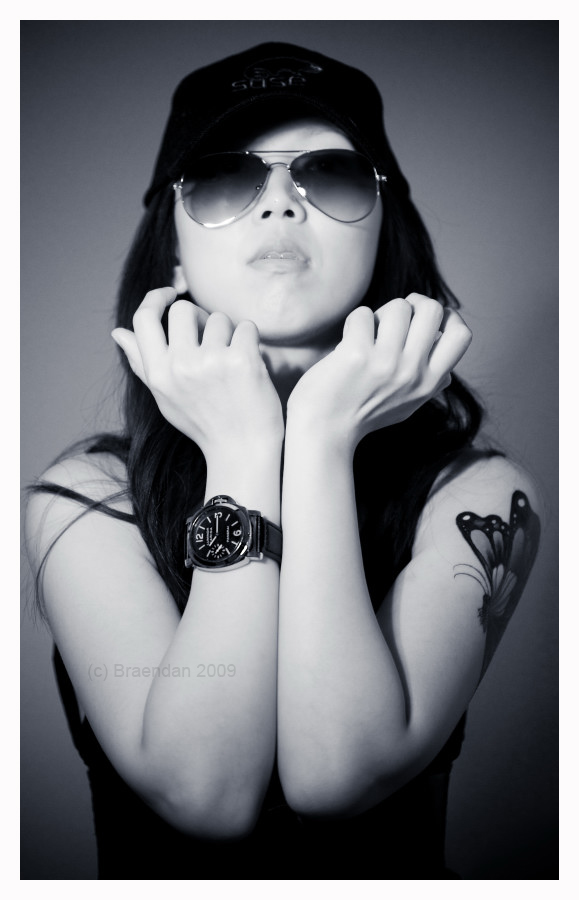
P/S: You can turn a white wall grey or near black just by adjusting your shutter speed. Just remember the faster your shutter the less light comes in the darker the background.
Saturday, April 25, 2009
Sit back, relax and have a good weekend
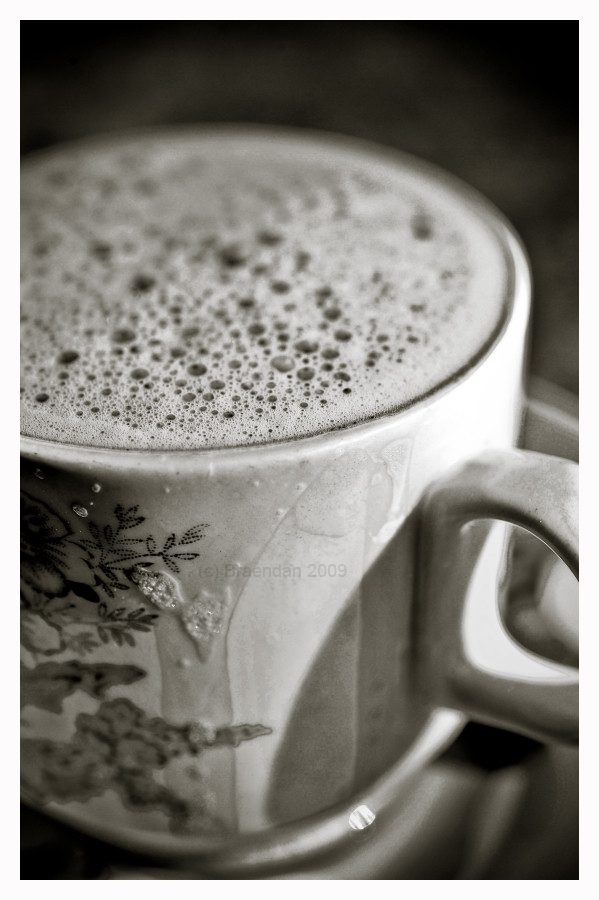
I will be going back to hometown later today and will only be back on Tuesday, so there will not be any updates till then. I promise to post some pictures from the trip. As the title suggest, the weekend is here so sit back, relax and be amuse at the number of images which can be produced from a single cup of milk tea *grin*.
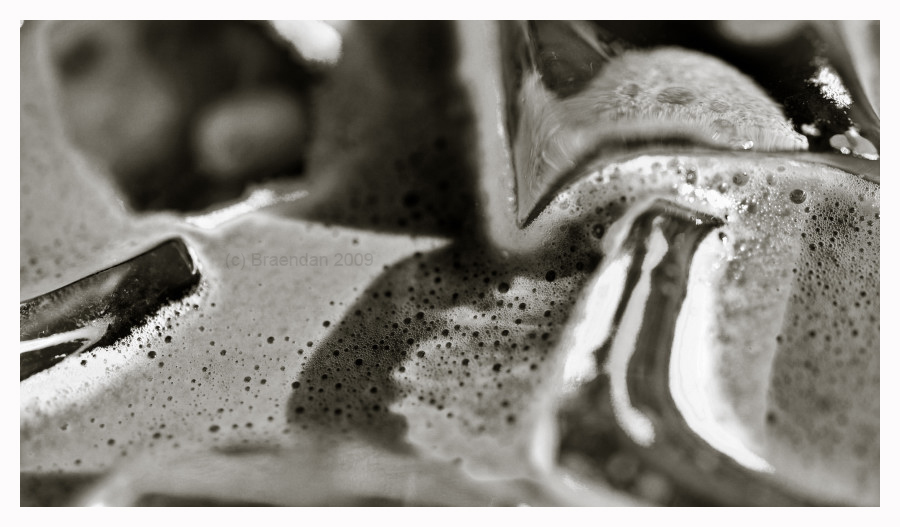
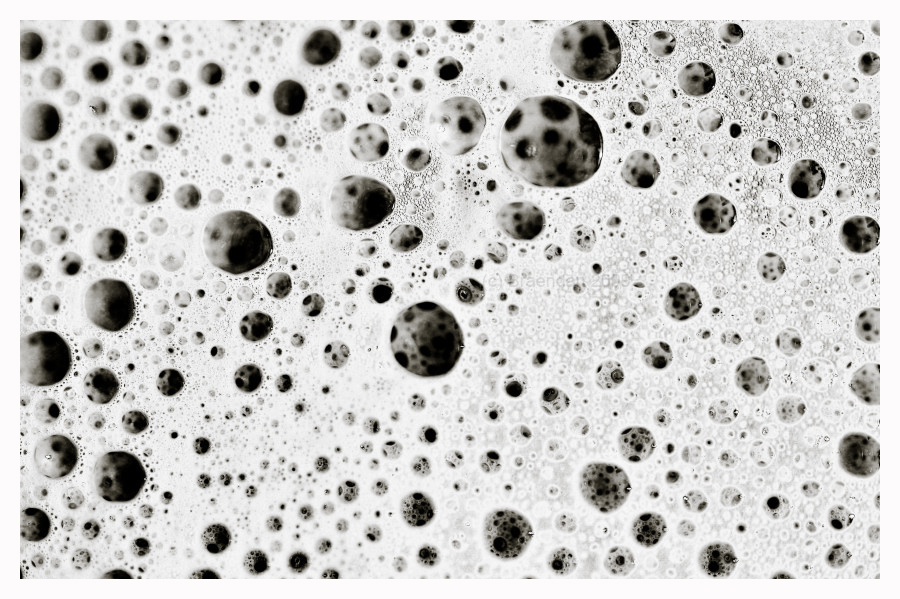
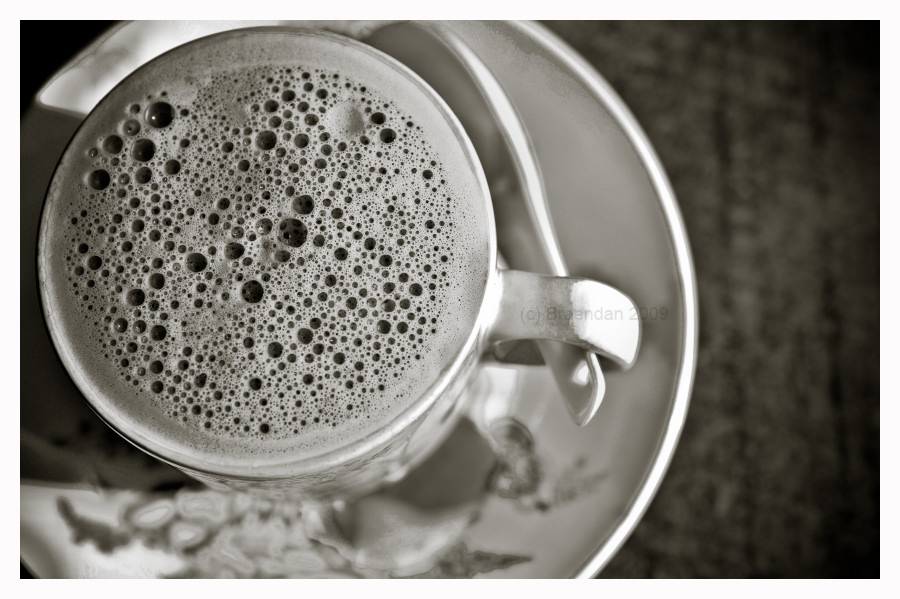
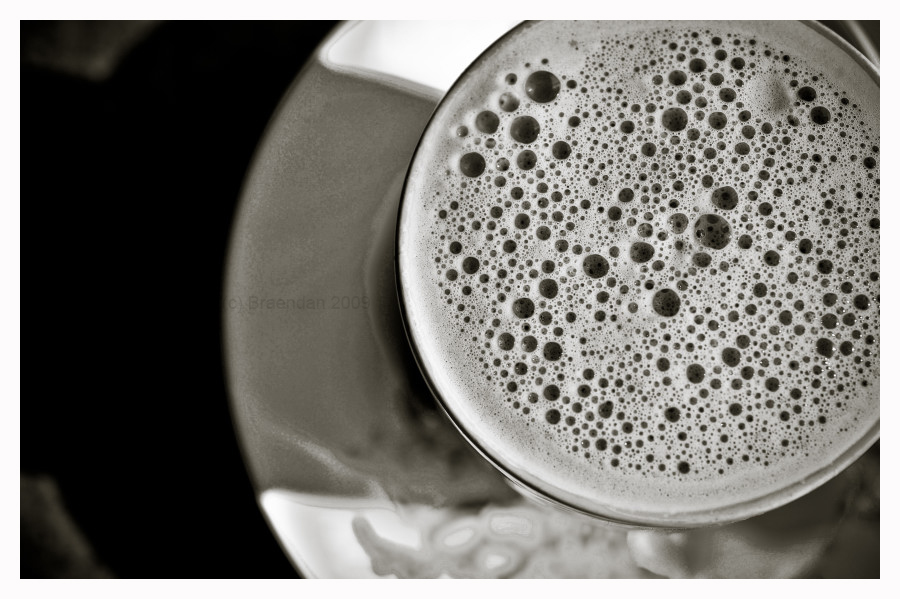
P/S: For those who needs to know, shots were taken using Nikon D3 with a combination of Nikon 60mm and 105mm macro lens.
Friday, April 24, 2009
Nikon D5000 Review

For people scouring the Internet looking for a review on Nikon D5000, I found a non English site (quesabesde.com) which did a very comprehensive review of this unit ;). I was particularly interested in the ISO performance of this unit and since dpreview site did not have high ISO sample pictures (don't quote me I could be wrong) this site had it.
If you understand hrmm french...? I am just guessing pardon my ignorance. You can just click here and read it anyways. Alternatively you can jump straight to the high ISO sample images:
If you understand hrmm french...? I am just guessing pardon my ignorance. You can just click here and read it anyways. Alternatively you can jump straight to the high ISO sample images:
1. Some still life shots taken at ISO 3200
2. The same still life shots taken at ISO 6400
3. At a concert taken at ISO 6400
4. A building taken at night at ISO 3200
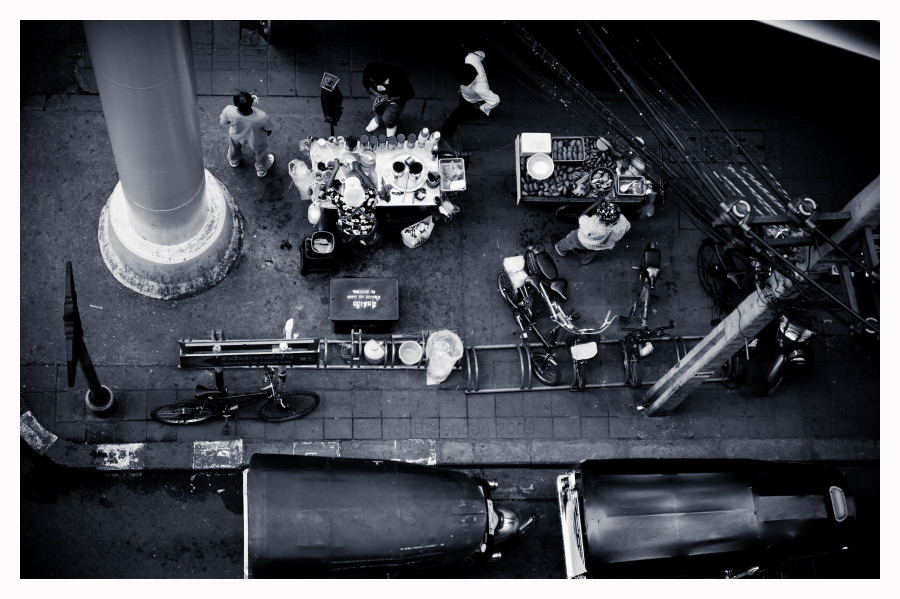
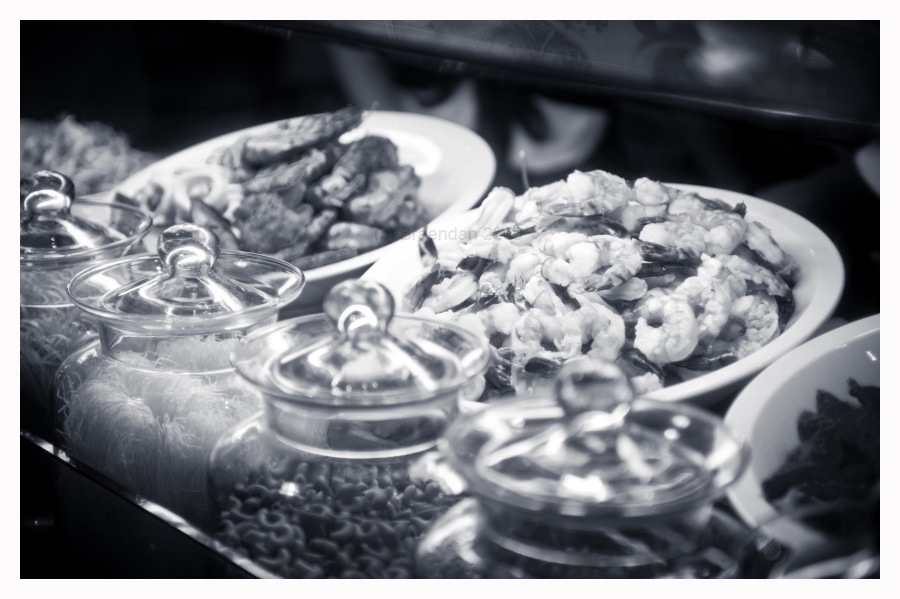
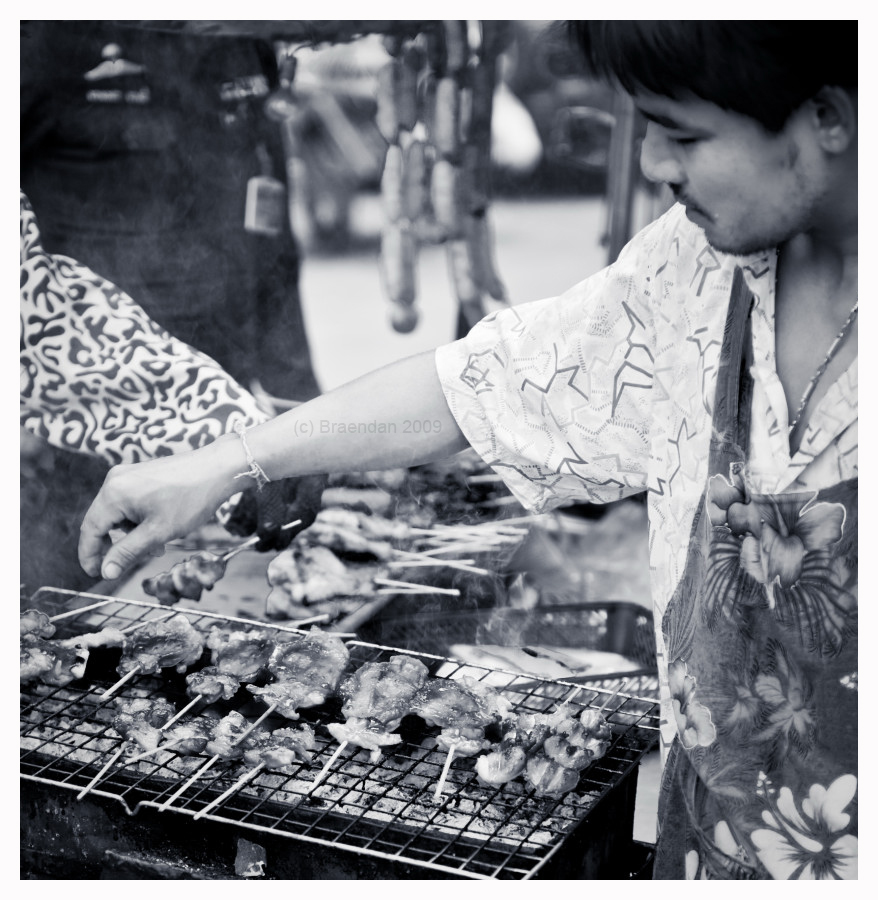
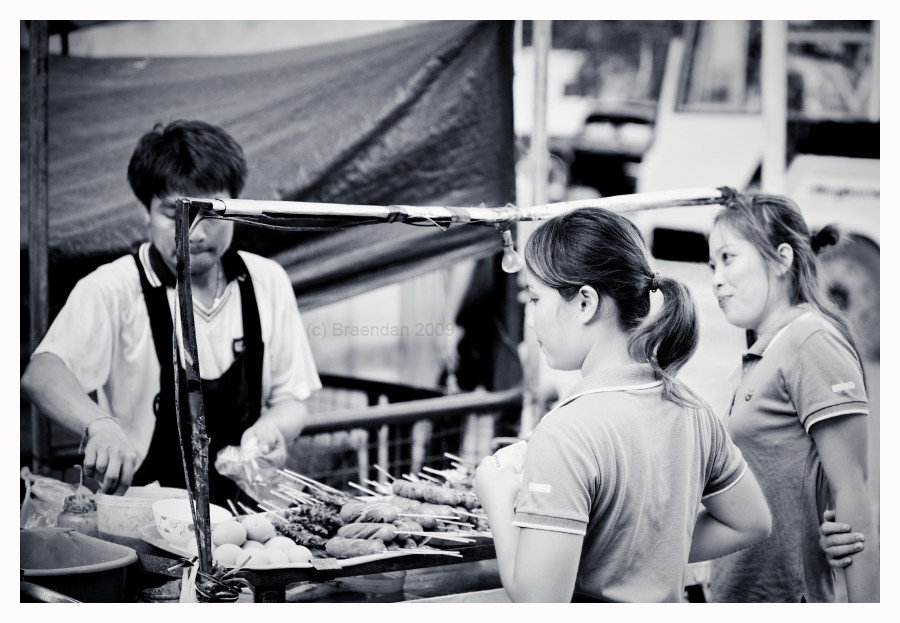
Streets of Bangkok
One thing you will never fall short of when you roam the streets of Bangkok would be food and the choices of it. Every corner you turn you will be presented with an array of food choices and the prices are reasonable. The next question which comes to your mind would be do you dare try it? I will let your imaginations run wild with some shots of food and peddlers from the street of Bangkok.

Thursday, April 23, 2009
Artist at Work
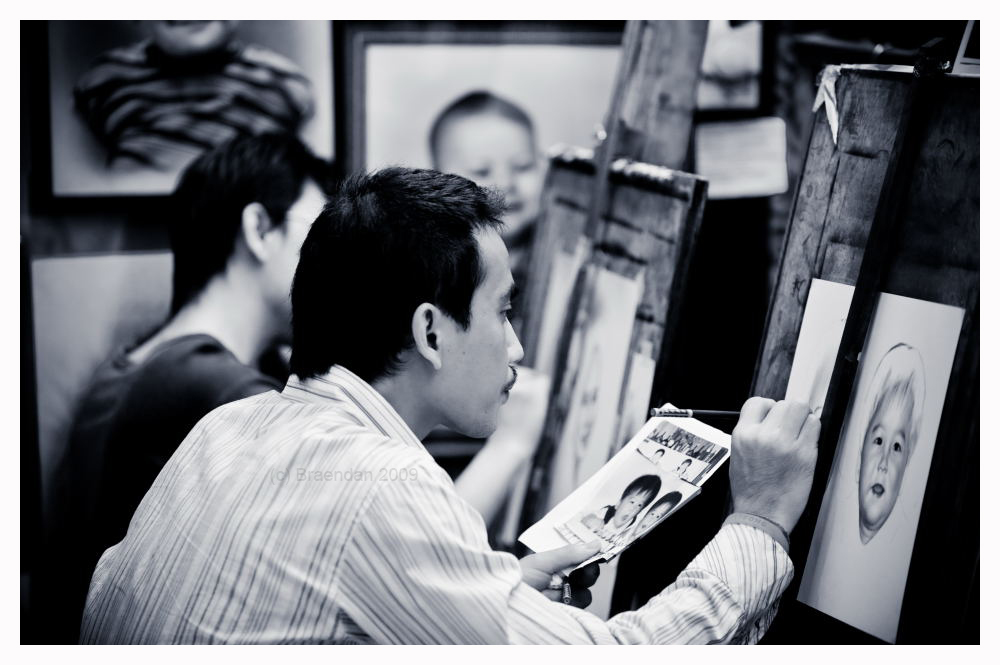
Looking at this artist at work brought back memories of college days a long long time ago where I use to cringe every time I was required to attend art class. Sitting in class facing manikins and still life attempting to product some form of artistic expressionism. Sometimes I wonder whether all those exercises actually left a mark on me.
Looking back I think I still prefer the camera than the brush.
Looking back I think I still prefer the camera than the brush.
Wednesday, April 22, 2009
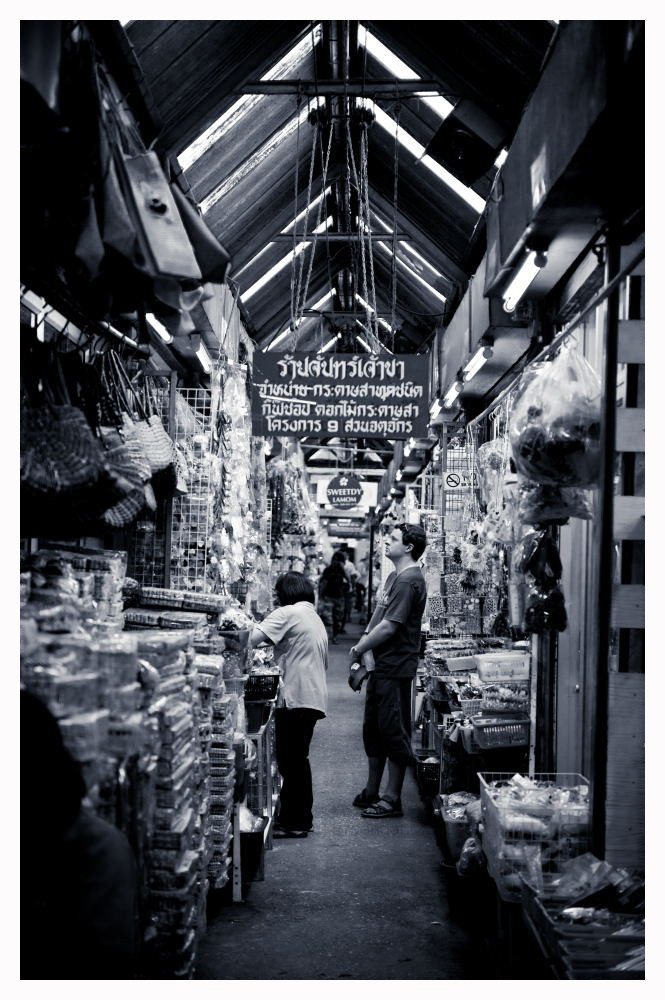
Chatuchak Weekend Market
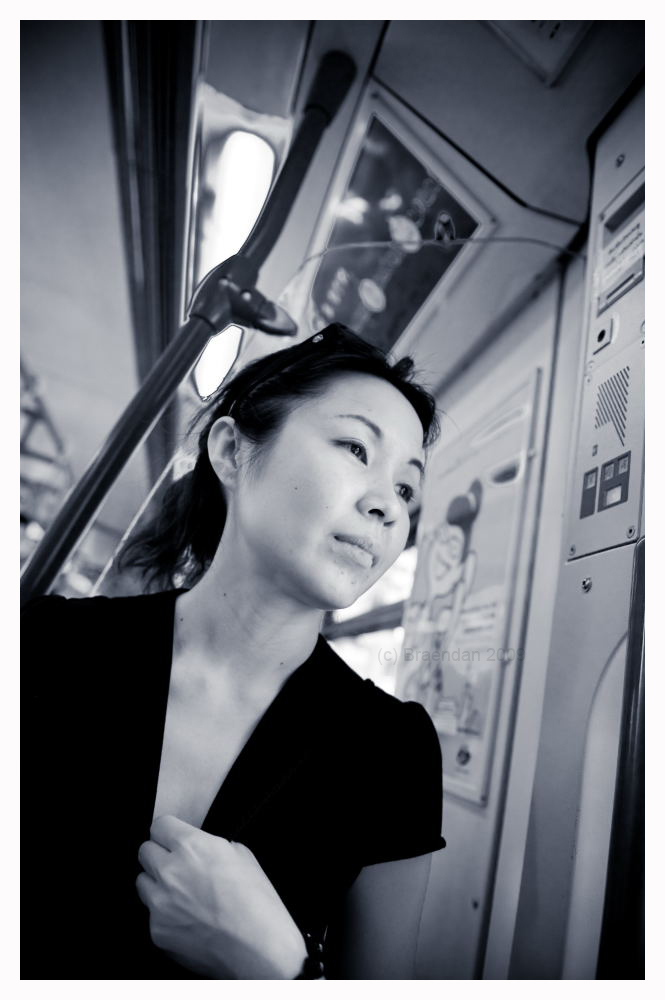
On the Skytrain
In Malaysia we have all been to night markets. Two things you will always find there; 1. Nice stuff for a bargain and 2. A lot of people. I have to confess that Chatuchak would actually dwarf all night markets because its like the mother of em all. For those who are still not impress here are some statistics. Chatuchak is the size of a 35 acre land (trust me its huge), packed with 15,000 stalls and is visited by 200,000 visitors daily.
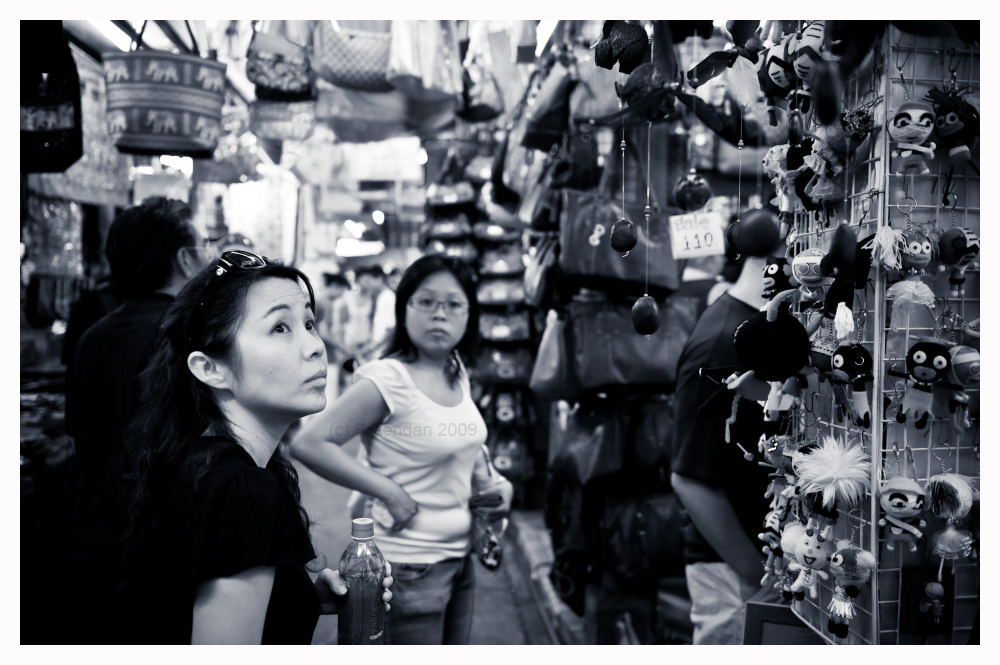
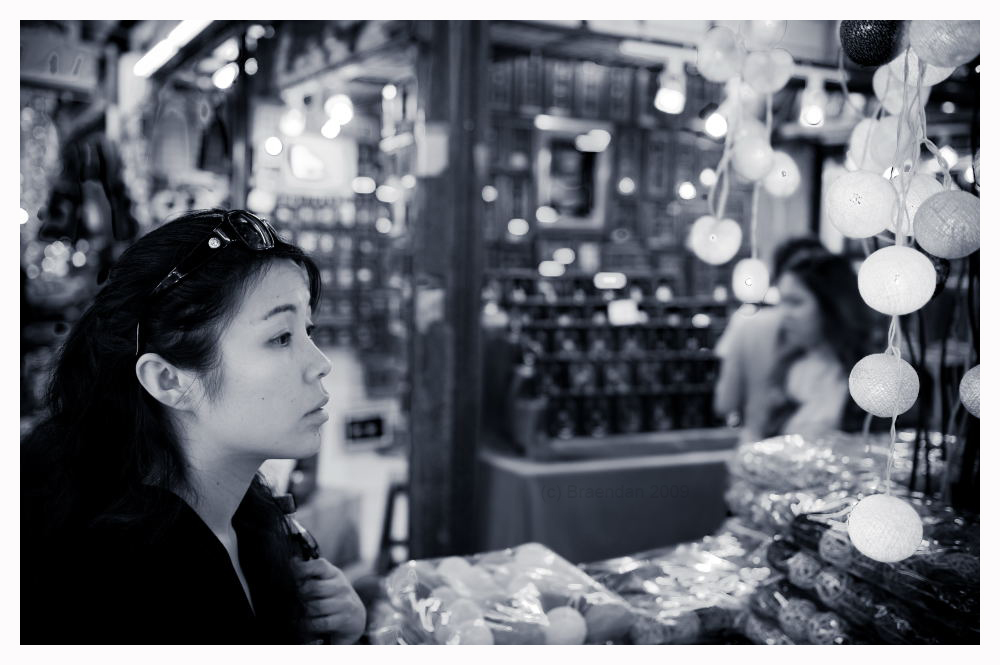
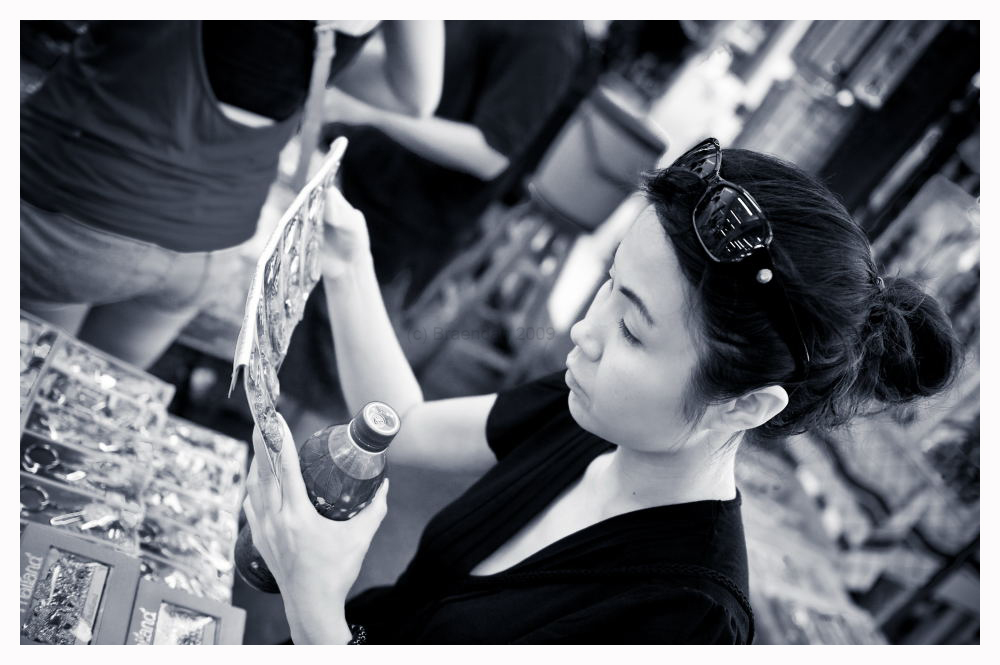
We were there early
The best way to get there is by Skytrain, the stop would be Mo Chit station which should land you within a 5 minutes walking distance to the mother of all markets. If you do not like to be squashed or cramp like a sardines I suggest you go early and leave early. It is hot (unless you visit around December) and there are A LOT of visitors.P/S: Do not bring your girl friend, wife or mum...forget bringing the ladies. Once they are in here they wont leave hehe. BTW the images here were taken using a Nikon D700 with a Nikkor 24-70mm f/2.8 lens.
Tuesday, April 21, 2009
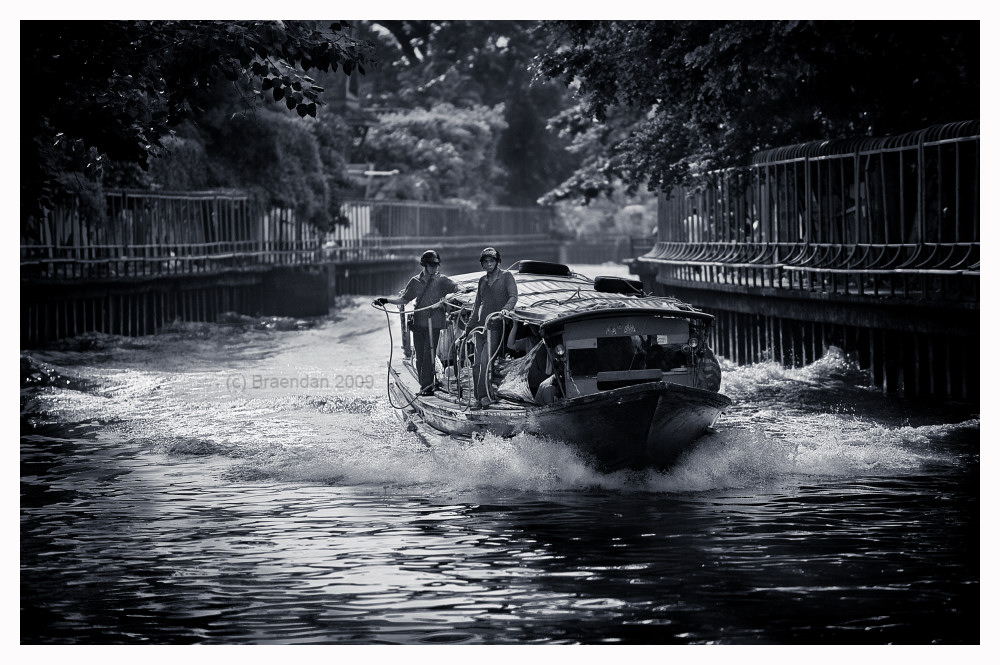
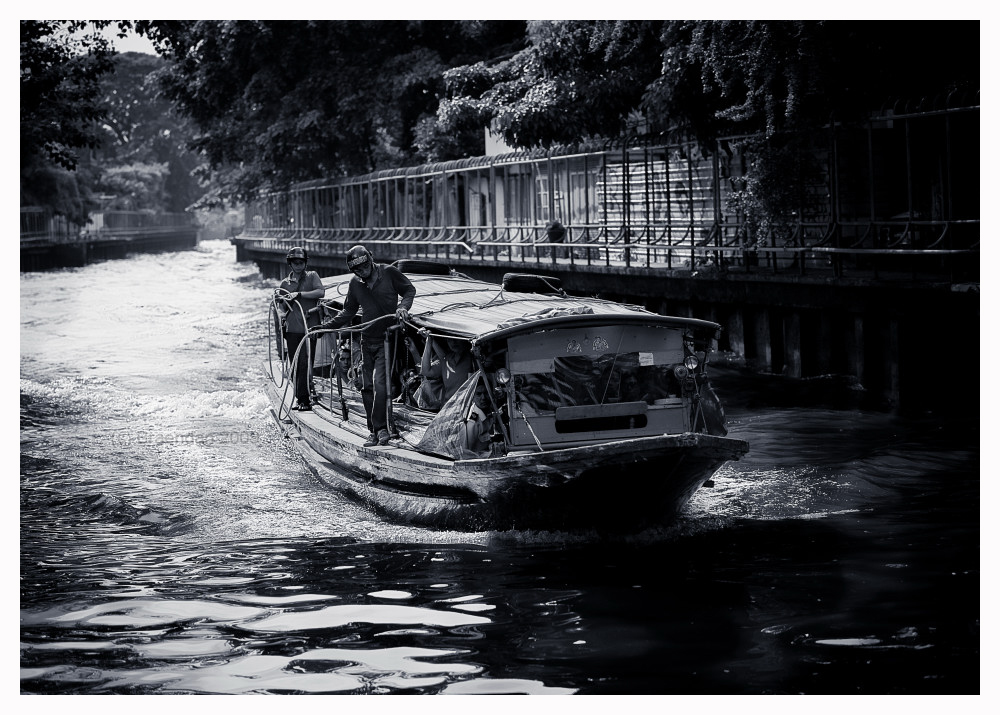
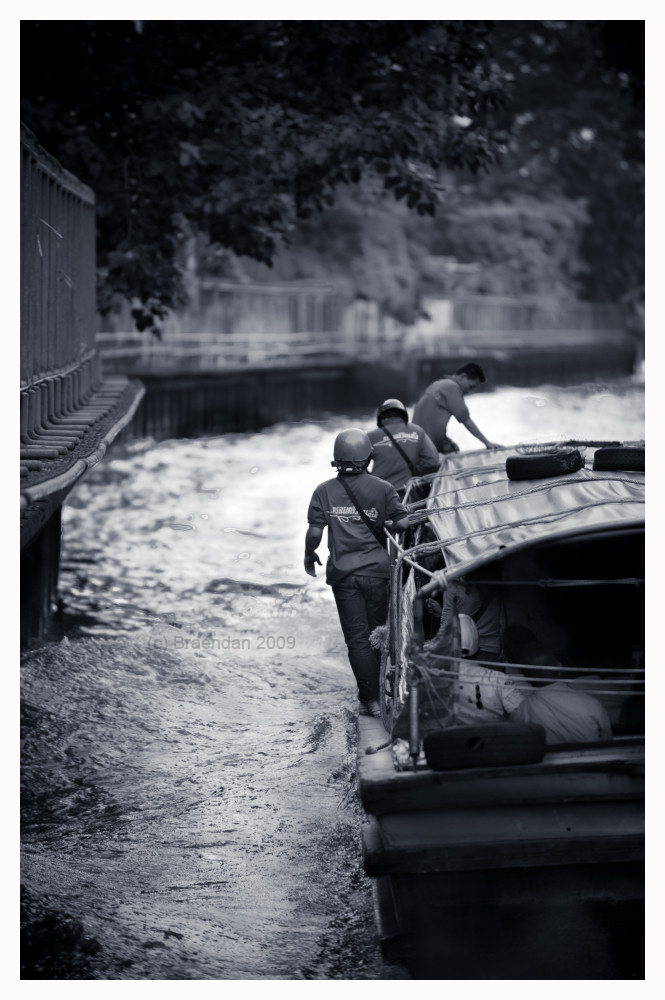
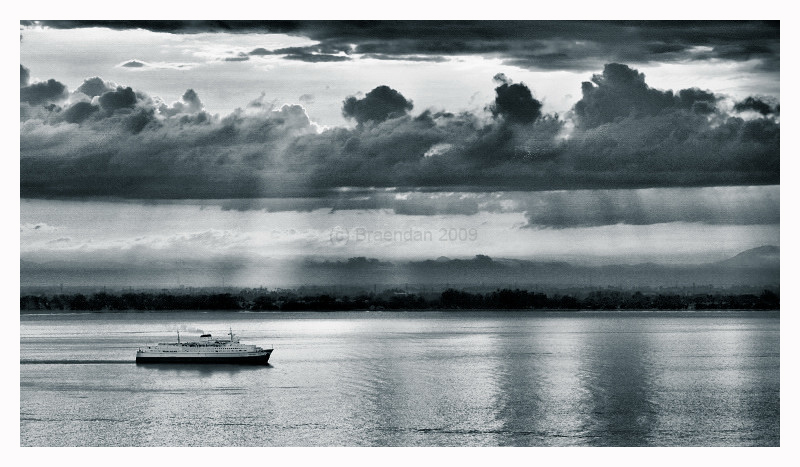
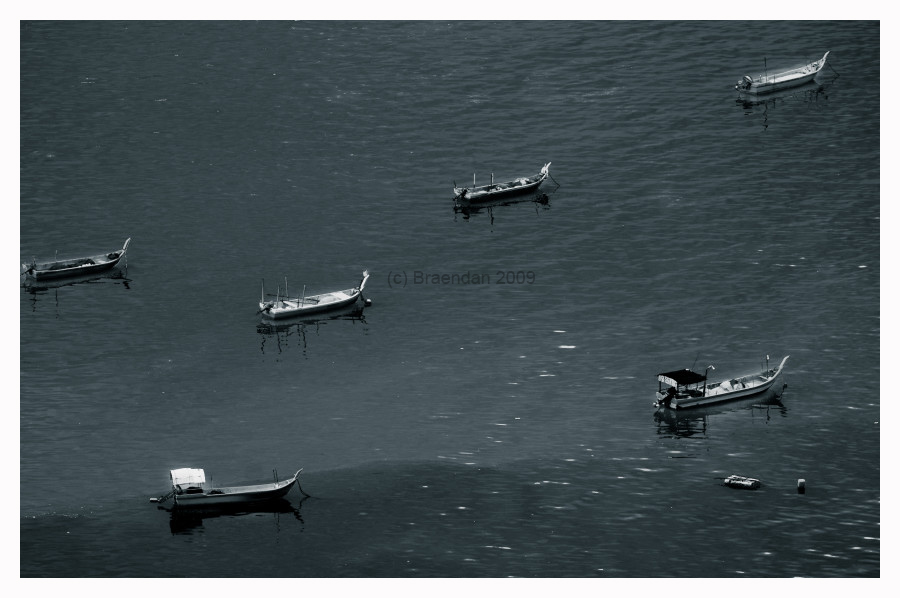
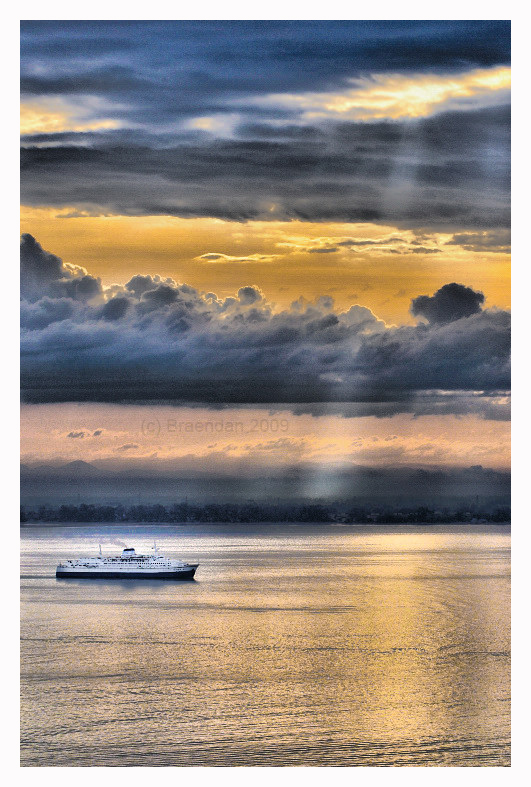
Black & White Series: Boat People
Was thinking about this as I made my way to the office today. What would normally be a 10 minutes drive took 45 minutes today. Seeing this makes me ponder on a what if this was implemented here is Malaysia an additional mode on transportation would it easy the congestion? Anyways enjoy the images took this a while back on a trip to Thailand. These images were taken with a Nikon D700 armed with a 70-200mm lens. Shot raw and post processing was done in Lightroom.
Monday, April 20, 2009
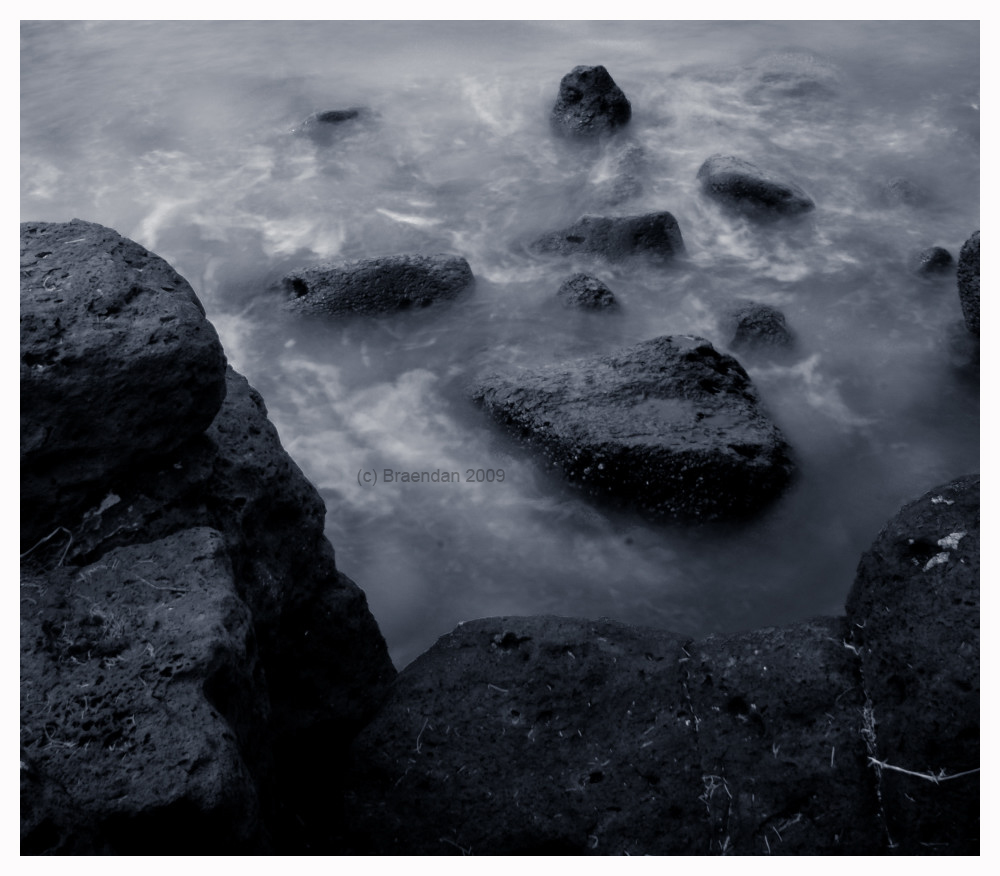
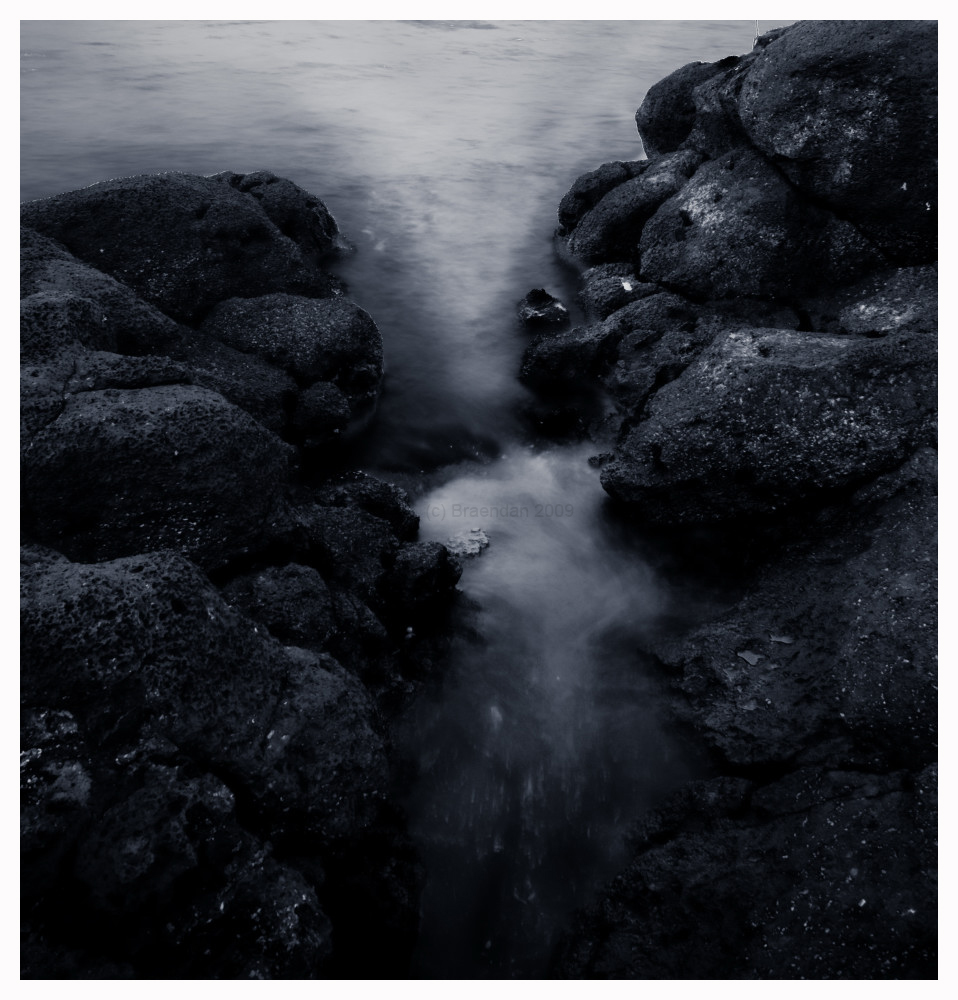
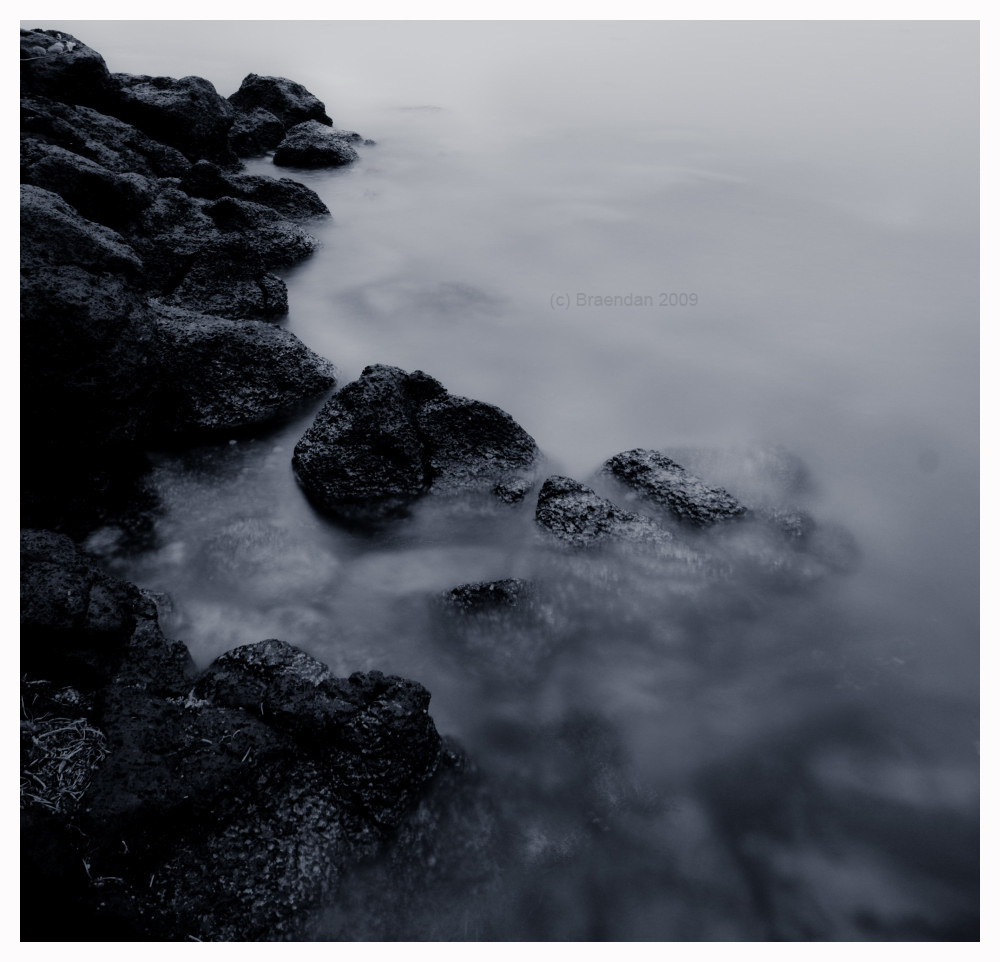
Black & White Series: Rocks
There will always be rocks in our paths. It will be a stumbling block or a stepping stone, it all depends on how we use them. As plain as the colors which it has shown you, today you shall see it in the colors of your own imagination.
Sunday, April 19, 2009
Penang Through the Lens
One thing about landscape photography is the flexibility in lens selection. It's not all about how wide you can go. Zoom lenses can also produce some very interesting results. So the next time you pack your gear consider a zoom lens as well. The images here were taken in Penang from Gurney Hotel. The gear used for these images were Nikon D300 with a Nikkor 70-200mm and a 1.4x Tele Converter.
Saturday, April 18, 2009
Combining Textures with Photographs a Tutorial with Photoshop CS 4
 Before Texture
The best thing about textures is that it can create a whole different mood to your images. You can create your own textures using any digital image manipulation program, you can even capture your own or you can get it from various sources. Flickr for instance there is this very talented texture designer called skeletalmess you can get very high quality textures from his flickr photostream here. Okay we are done with introduction now the step by step tutorial.
 Step 1: You will need a main image and one or more textures of your choice. Image above shows 1 main image and 1 texture for this tutorial. Open the main image in Photoshop and proceed with step 2 below.
 Step 1: You will need a main image and one or more textures of your choice. Image above shows 1 main image and 1 texture for this tutorial. Open the main image in Photoshop and proceed with step 2 below.
  Step 2: Once you have opened your main image in photoshop you will now need to create a new layer by going to Layer -> New -> Layer (as shown above) or on a PC shortcut key Shift+Ctrl+N
 Step 3: Give you layer a name e.g. Texture and ensure the setting are the same as above. Once you press the "OK" button you will be able to see the newly created layer in the Layers tab as shown below.
 Step 4: Proceed with opening the texture in Photoshop as well. As shown below you will now have two tabs. One tab represents your main image while the other is the newly opened texture image.
 Step 5: You will now need to copy the texture by using the marquee tool to select the texture and going to Edit -> Copy. As shown below. Reason for this step is you want to copy this texture onto your earlier created black texture layer.
 Step 6: After you have copied you can close the texture tab and paste the copied texture onto your earlier created layer as shown below. Make sure you selected the layer which you have created before pasting it in.
 Step 7: You are almost done. This is where the creative process of your mind takes precedence. Play around with the opacity to influence the texture effect on the main image.
 Step 8: You can also experiment with different filters as shown below. Each would have a different effect on your image.
 Step 9: Once you have done you will need to flatten the layers and save the file. You can do this by right clicking on any of the layers and select flatten image. Please see below for an example.
 Step 10: The final result below.
 I do hope you have enjoyed the tutorial. Please don't forget to leave a comment if you find this useful or if you feel its unclear.
Thursday, April 16, 2009
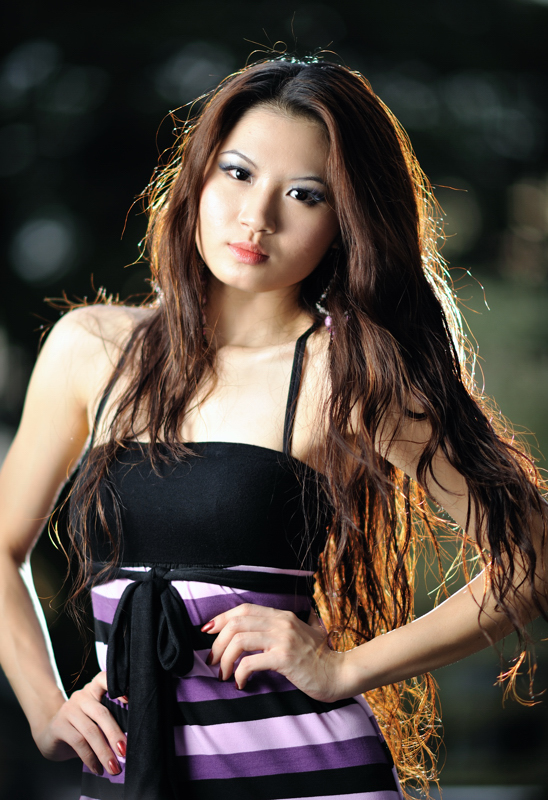
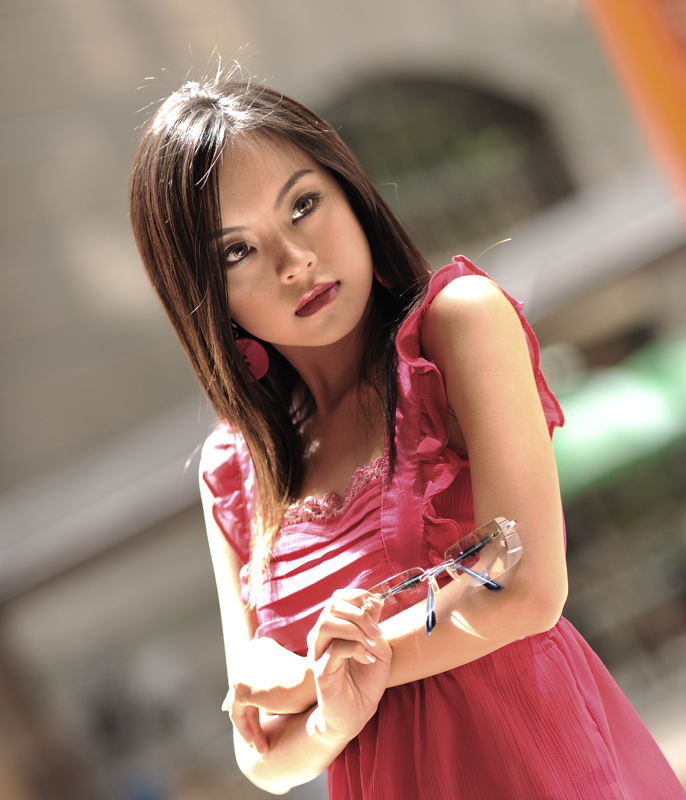
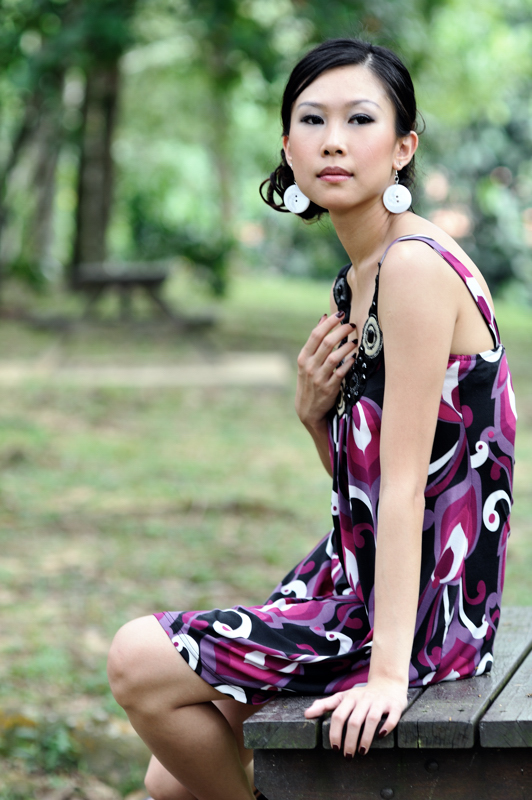
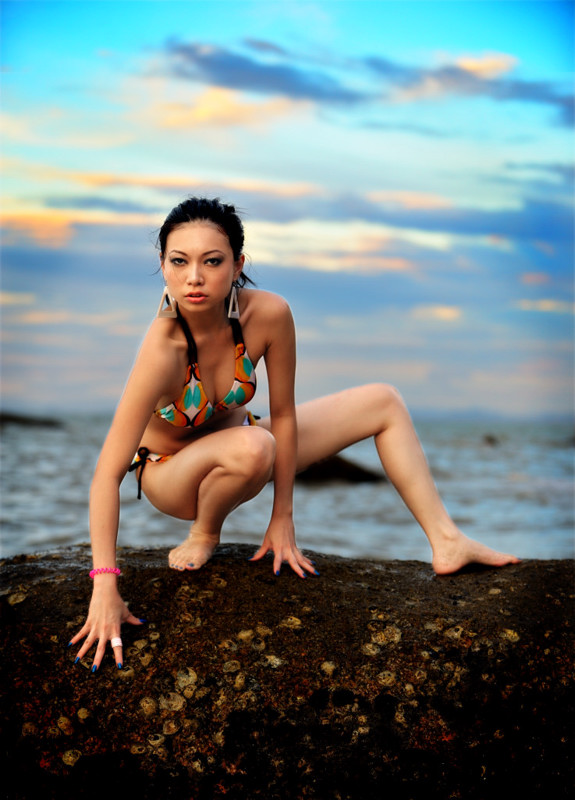
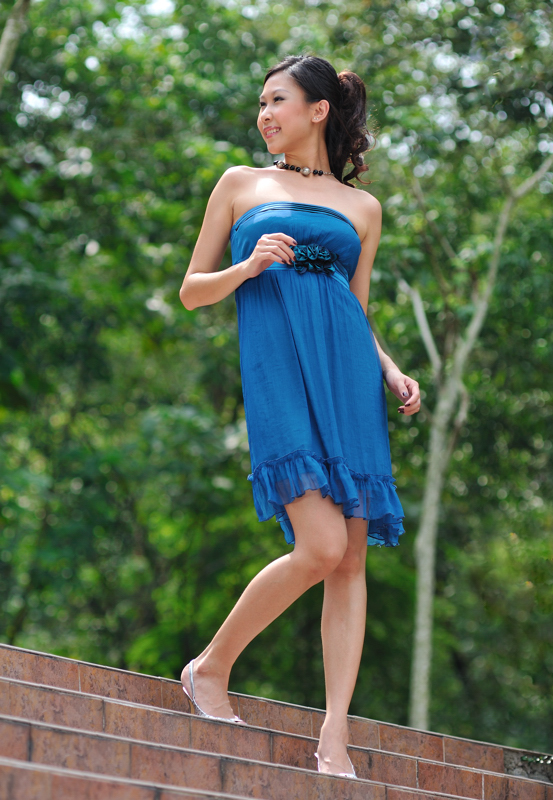
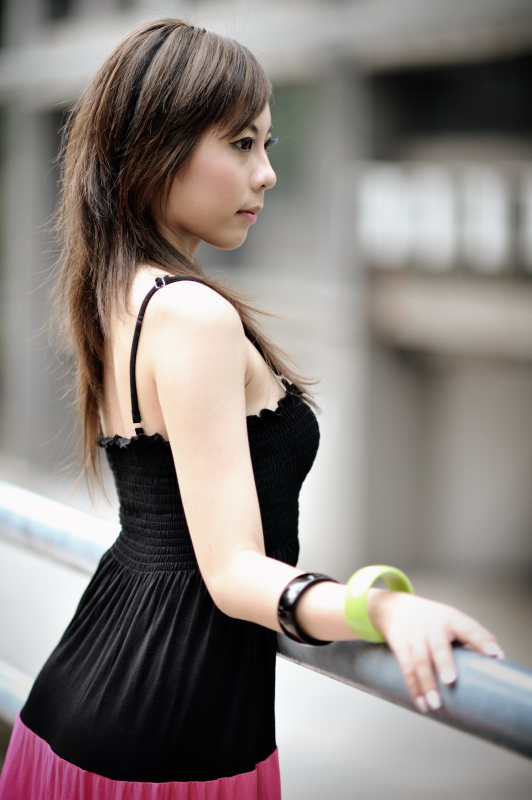
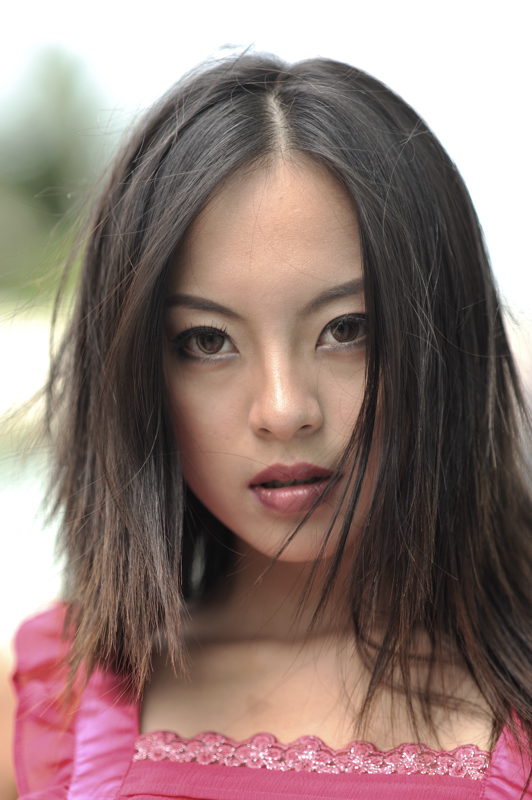
Model Inc
Was doing some housekeeping and found some of these older images. Thought I share them here. Some of this images were used for cocorich.com. Hope you like it =).
Subscribe to:
Posts (Atom)


